Search the entire website
Search
Search the entire website
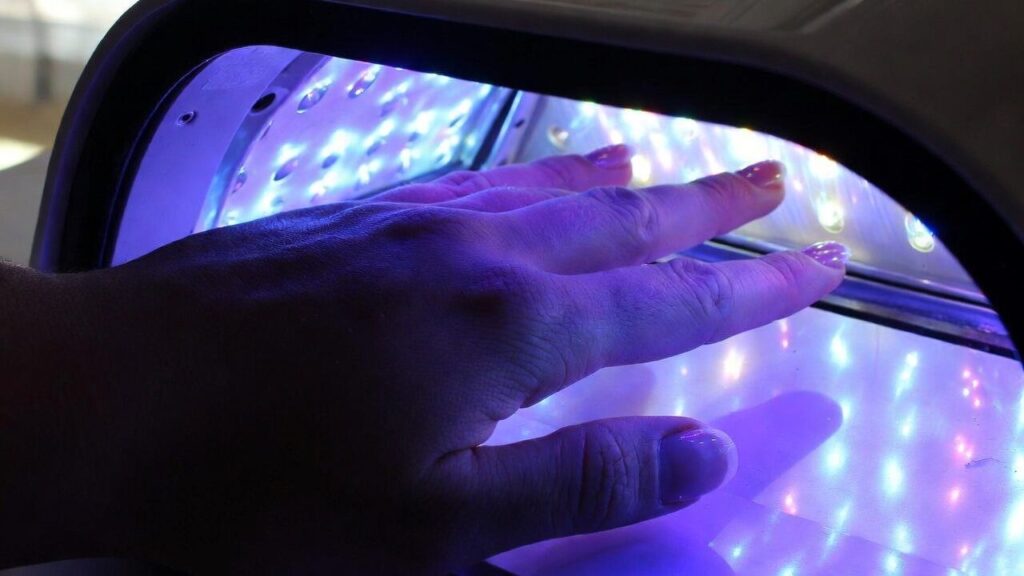
Use UV gel glue to paste the nail art patch, and cure the glue through UV lamp irradiation, which can achieve a durable nail art effect and firmly bond for several weeks. Before use, clean, remove cuticle and polish nails. Apply the gel to the nail patch, place it at a 45 ° angle, quickly cure for 15-30 seconds, and then fully cure for 60 seconds.

Most of the shedding problems actually lie in the preliminary treatment.
Dealing with dead skin: gently push up the back edge of the nail with a steel push to clean up the waste cutin (inactive tissue) on the nail surface.
Grind the nail surface: Use a fine sand strip or sponge to gently grind away the natural grease and luster of the nail surface.
Clean degreasing: wipe thoroughly with alcohol cotton sheet or degreaser. This step is to ensure that the UV glue has a completely clean surface to “grab”.
In order to increase the bonding area, I would suggest everyone:
Inner sanding: Slightly sanding with a grinding head or sand bar at the position where the inner side of the wearing armor is in contact with the real armor.
My experience: This creates a “toothed” surface that allows UV glue to grip the plastic nail more firmly.

If you belong to big oil armor, or want to pursue the ultimate durability:
First apply a layer of pH balance fluid (degreasing agent) to take away excess water.
Then a layer of primer. This thing is like a “double-sided adhesive”, which can establish a chemical bond between the real armor and UV glue.
Liquid UV glue vs. solid glue: if liquid glue is used, drop a small amount at the bottom of the nail sheet. If it is the popular solid patch glue, take a pea-sized piece and place it in the center of the nail sheet.
No excessive: glue coated too much is definitely not a good thing. Spill glue is not only easy to cause late warping, contact with the skin may also cause allergies.
45-degree angle cut-in: Keep the nail close to the trailing edge of the nail at a 45-degree angle.
Exhausted bubbles: Slowly press in the direction of the fingertip. This technique pushes the air out. Air bubbles are to blame for the premature shedding of the wear armor and the breeding of bacteria.
Pre-curing (Flash Cure,15-30 seconds): Press and hold the nail plate with 1 hand so as not to displace it, and operate the portable “gooseneck lamp” or hand lamp with the other 1 for point-shot curing. First, “lock” the nail in place to prevent slipping.
Full curing (60 seconds): After all ten fingers are fixed, put the whole hand into the headlight above 48W and bake it for 60 seconds to ensure that the glue core is completely hardened.
If a small amount of spilled glue is baked hard, use a manual sand bar or sander to gently grind off the excess part of the edge. Clean the side and trailing edges to prevent nails from hanging hair or clothing.
If you want to use UV glue in place, you must know these professional details:
Transparent or translucent nail must be used: this is the most critical point! UV light must penetrate the nail plate to shine on the dry glue. If you are using a solid color film or a dark coating film that is completely opaque to light, the glue inside will be wet, which will cause damage to the real nail and even cause serious allergy.
Novice preferred solid glue: solid glue like plasticine texture is very good control, no turbulence, much better than liquid glue.
The skin must be wiped clean before the baking lamp: as long as you find that the glue has flowed onto the meat, don’t fire it and roast it. Wipe clean with a steel push or a brush dipped in alcohol. Repeated baking of uncured gel on the skin is the main cause of contact dermatitis.
Because the adhesive force formed by UV glue is very strong, don’t break it violently, otherwise the nail layer will be torn as thin as paper.
Soak in acetone: Cut the length of the nail piece first, then soak it in 100 pure acetone for 15-20 minutes.
Gently scrape: When the glue becomes jelly, gently scrape it off with an orange stick.
Reminder: Please keep indoor ventilation when using UV resin products. Try to avoid skin contact with uncured glue to protect your hands and nails.
Author: Elena Rodriguez
Hi, I’m a professional nail technician and DIY manicure enthusiast. With years of experience in soft gel systems, I specialize in helping beauty lovers achieve salon-quality durability at home. I’ve mastered the art of using UV gel glue for press-on nails to ensure a flawless, long-lasting finish.